Homemade Sea Salt Recipe: How to Make Your Own Sea Salt Travel Souvenirs
Preserve your travel memories with a homemade sea salt souvenir
Making salt is easy enough, and if done properly, it’s safe. The single most critical aspect of making salt is to use the most pristine water available, avoiding areas of runoff. (As the water dries out, any impurities or metals will become concentrated.) How much salt each batch yields depends on the salt level in the water and the dehydration process; a slower evaporation of the water leads to larger, natural crystals, which add beautiful texture to dishes. If you’re in a rush, boil out the water on the stove; the crystals will end up smaller, but the flavor is the same.
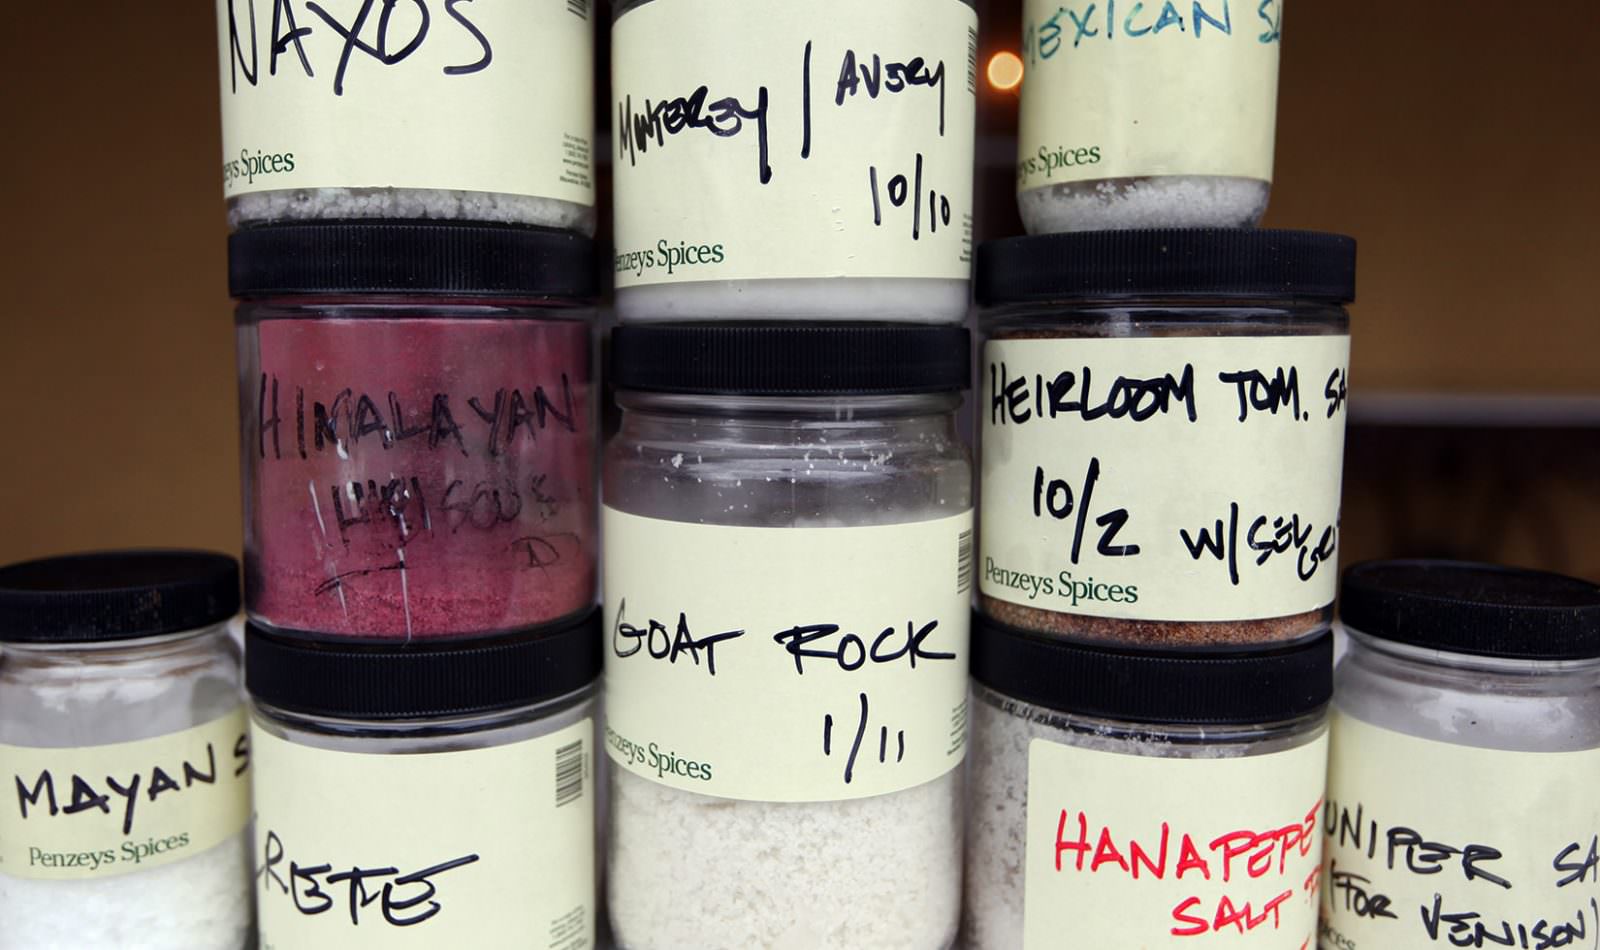
You don’t have to be a purist, either. You can mix the salts with other ingredients, like dried tomatoes, conifer tips or juniper. We’ve also used our Sonoma Sea salt recipe to cure the Jordan Chef’s Reserve Caviar, a collaboration project with our friends at Tsar Nicoulai.
Recipe: How to Make Sea Salt
Ingredients:
- 1 gallon of seawater
Instructions:
- Use one-gallon, plastic water bottles to collect the most pristine water available. Plastic bottles are typically easier to manage; especially if you hike or kayak to the spot where you collect the water.
- Place the collected water in a large pot and bring to a boil over high heat. Boil for at least 6 minutes to kill any bacteria. Immediately pour the boiled water 1-2 inches deep in shallow, non-reactive baking dishes (glass Pyrex dishes are preferable), cover each baking dish with cheesecloth and set outside in the sun until the liquid has evaporated. Depending on the weather, this could take a few hours or up seven days. Consolidate the salt into one baking sheet and set in an oven with just the pilot light on. Leave overnight to completely dry.
- If your travels take you from your destination before your salt is dry, you can leave a little moisture in the salt before returning home, where you can transfer the salt back to baking dishes, covering with cheesecloth and let dry out completely.
- Transfer the salt to a decorative bowl or canning jar with an air-tight lid.
Alternative Quick Method:
- After boiling the water to remove any bacteria, reduce the heat to medium and continue boiling, stirring frequently. Larger crystals can be skimmed off the top and set aside. Continue to cook until all that remains are crystals and a small amount of moisture. (One quart of water at full boil reduces in about 45 minutes; for larger salt crystals, slow to a low boil.) Finish in the oven as directed above.
Yields approximately 1/2-3/4 cups of sea salt. Instructables published a handy, step-by-step photo tutorial for how to make sea salt as well.


My girlfriend makes sea salt and after the evaporation is done there is still some oil in the salt. Is there any way to prevent the oil from sticking the salt together?
There is no oil in ocean water and I doubt she has any oil in her salt unless she is accidentally using oily pans (for example, cast iron pans usually are purposefully kept with a preservation layer of oil on them.) My guess is her salt is a bit damp from lack of completely drying or humidity. A bit of time in the oven on low should help it out.